Since you are here, I’m guessing you’re having some issues with your PC. Well, don’t worry about that. I’m here to help determine what is causing the problem and get you back up and running. This blog will detail what the CMOS is, how to clear it, and why you would want to do this. So sit back, relax, and let’s try to fix your PC.
What is a CMOS?
CMOS stands for Complementary Metal-Oxide-Semiconductor (I know it sounds complicated), but what does this mean about your PC? The CMOS is a small amount of memory on your Motherboard that stores your BIOS (Basic Input/Output System) settings. Without this, you would have to set up your BIOS settings each time you boot up your PC. To do this, your Motherboard has a small watch battery, which powers the CMOS to ensure your PC never forgets your settings each time you turn it off.
Think of your PC as a big digital clock that needs to remember a few important things to work correctly, like what time it is, which parts it has (like your CPU and GPU), and how they should talk to each other. Now imagine there is a little notebook that notes down all of this information; this is the CMOS. The catch is the notebook constantly needs reminding of this information; otherwise, it will forget everything. This is where the battery on your motherboard comes in, keeping the notebook (CMOS) constantly awake and remembering all the vital information it needs to start up.
Why Would I Need to Clear my CMOS?
There are so many reasons you could need to clear your CMOS, but below is the list of most common reasons:
Incorrect Bios Settings
Have you recently changed your BIOS settings and are now having PC issues? Well, clearing the CMOS will reset your BIOS back to factory default settings and remove any changes you have made.
Hardware Compatibility Issues
It can be that your CPU and GPU aren’t getting along and not communicating how they should be when trying to boot your PC. A CMOS reset again returns everything to the original settings and can sometimes fix compatibility issues.
PC not Booting
There are so many reasons why your PC might not be booting, but the best place to start is by clearing the CMOS. Again, this just resets the BIOS and system information and rules out that it was the BIOS or any other information stored in the CMOS that was causing your issues when booting.
Major System Changes
Have you recently upgraded your CPU or GPU and are now having issues? If you have, then a CMOS reset can help. For example, say you upgraded from a GTX 1080 Ti to a RTX 4090. The first time you boot your PC, the system will still look for the 1080 Ti (as this was the information saved in the CMOS). This can cause booting issues or even cause crashes while you use your PC. The best practice is to clear your CMOS every time you change a significant component in your PC.
Troubleshooting
When facing unexplained system instability, crashes, or boot failures, and you’ve tried other troubleshooting steps without success, clearing the CMOS can be a last-ditch effort to resolve the problem.
How to Reset Your CMOS
Now you know what a CMOS is and why you might need to clear it. It’s time to learn how to do it.
Motherboards without a Clear CMOS button
- First, ensure your PC is turned off and unplugged, and discharge the remaining power from the PSU (press the power button whilst the PC is unplugged).
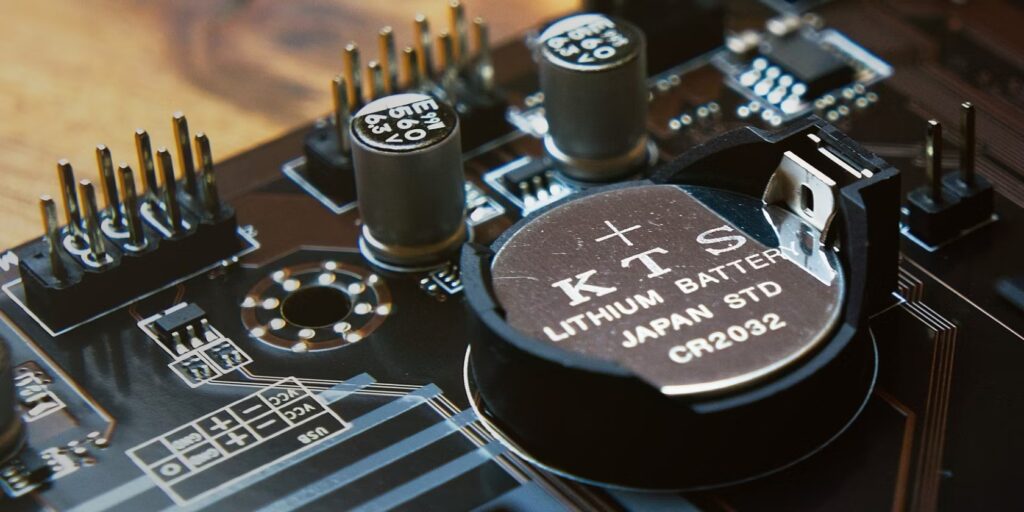
- Next, remove your side panel and locate the CMOS battery. You are looking for a small watch battery around the size of a 10p coin. This can be tricky to locate as manufacturers hide the battery behind the GPU (Graphics card) on some motherboards. If you are still looking for it, you can check the motherboard manual, which will point you in the right direction.
- Remove the CMOS battery by pushing down on the little metal tab until the battery pops out.
4. Once you have completely removed the battery from the board, wait 15 seconds to replace it.
5. Once you have replaced the battery, turn on your PC and see if your issue persists.
6. If the issue doesn’t continue, then don’t forget to set up your BIOS again, as you have just reset the settings to factory default.
Motherboards with a Clear CMOS Button
Motherboards with a clear CMOS button are a lot easier to reset than boards without. Firstly you don’t even need to find the battery, all you’re looking for is a small button.
- Power off your PC
2. Locate you reset CMOS button on your board (normally on the rear IO)
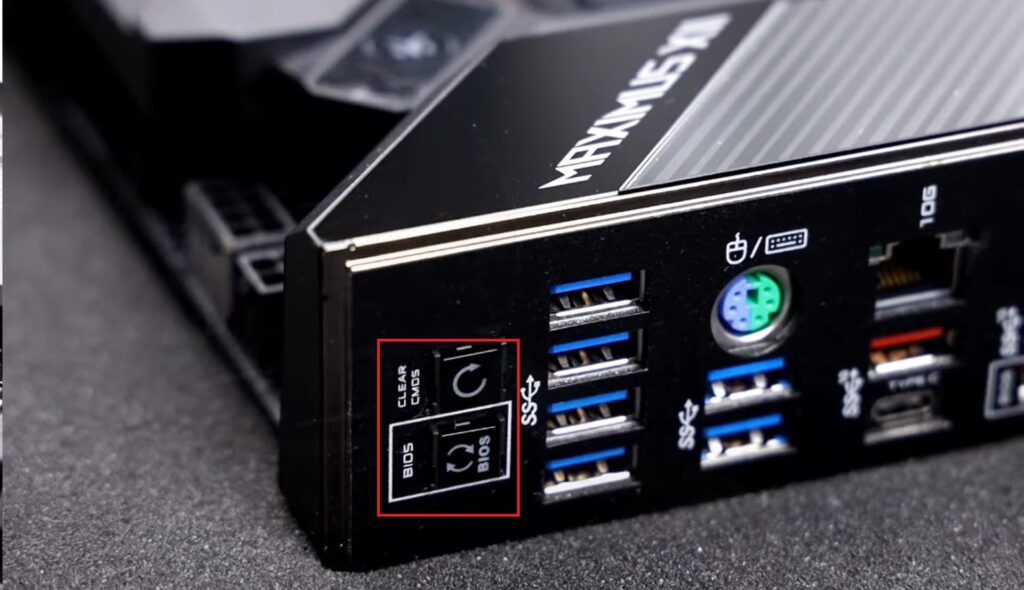
3. Hold the clear CMOS button for 5-10 seconds
4. Turn the PC back on
That’s it, you’re all done! Hopefully, this CMOS reset has helped you solve any issues with your PC. Remember to turn your XMP profile back on in your BIOS, as your RAM will be set to the default speed. If you need to learn how to set up your BIOS, check out our guide on all the settings you need to have turned on. If you’re still having issues with your PC and it was purchased from us, you can contact our support team, as all purchases come with Lifetime Tech Support.